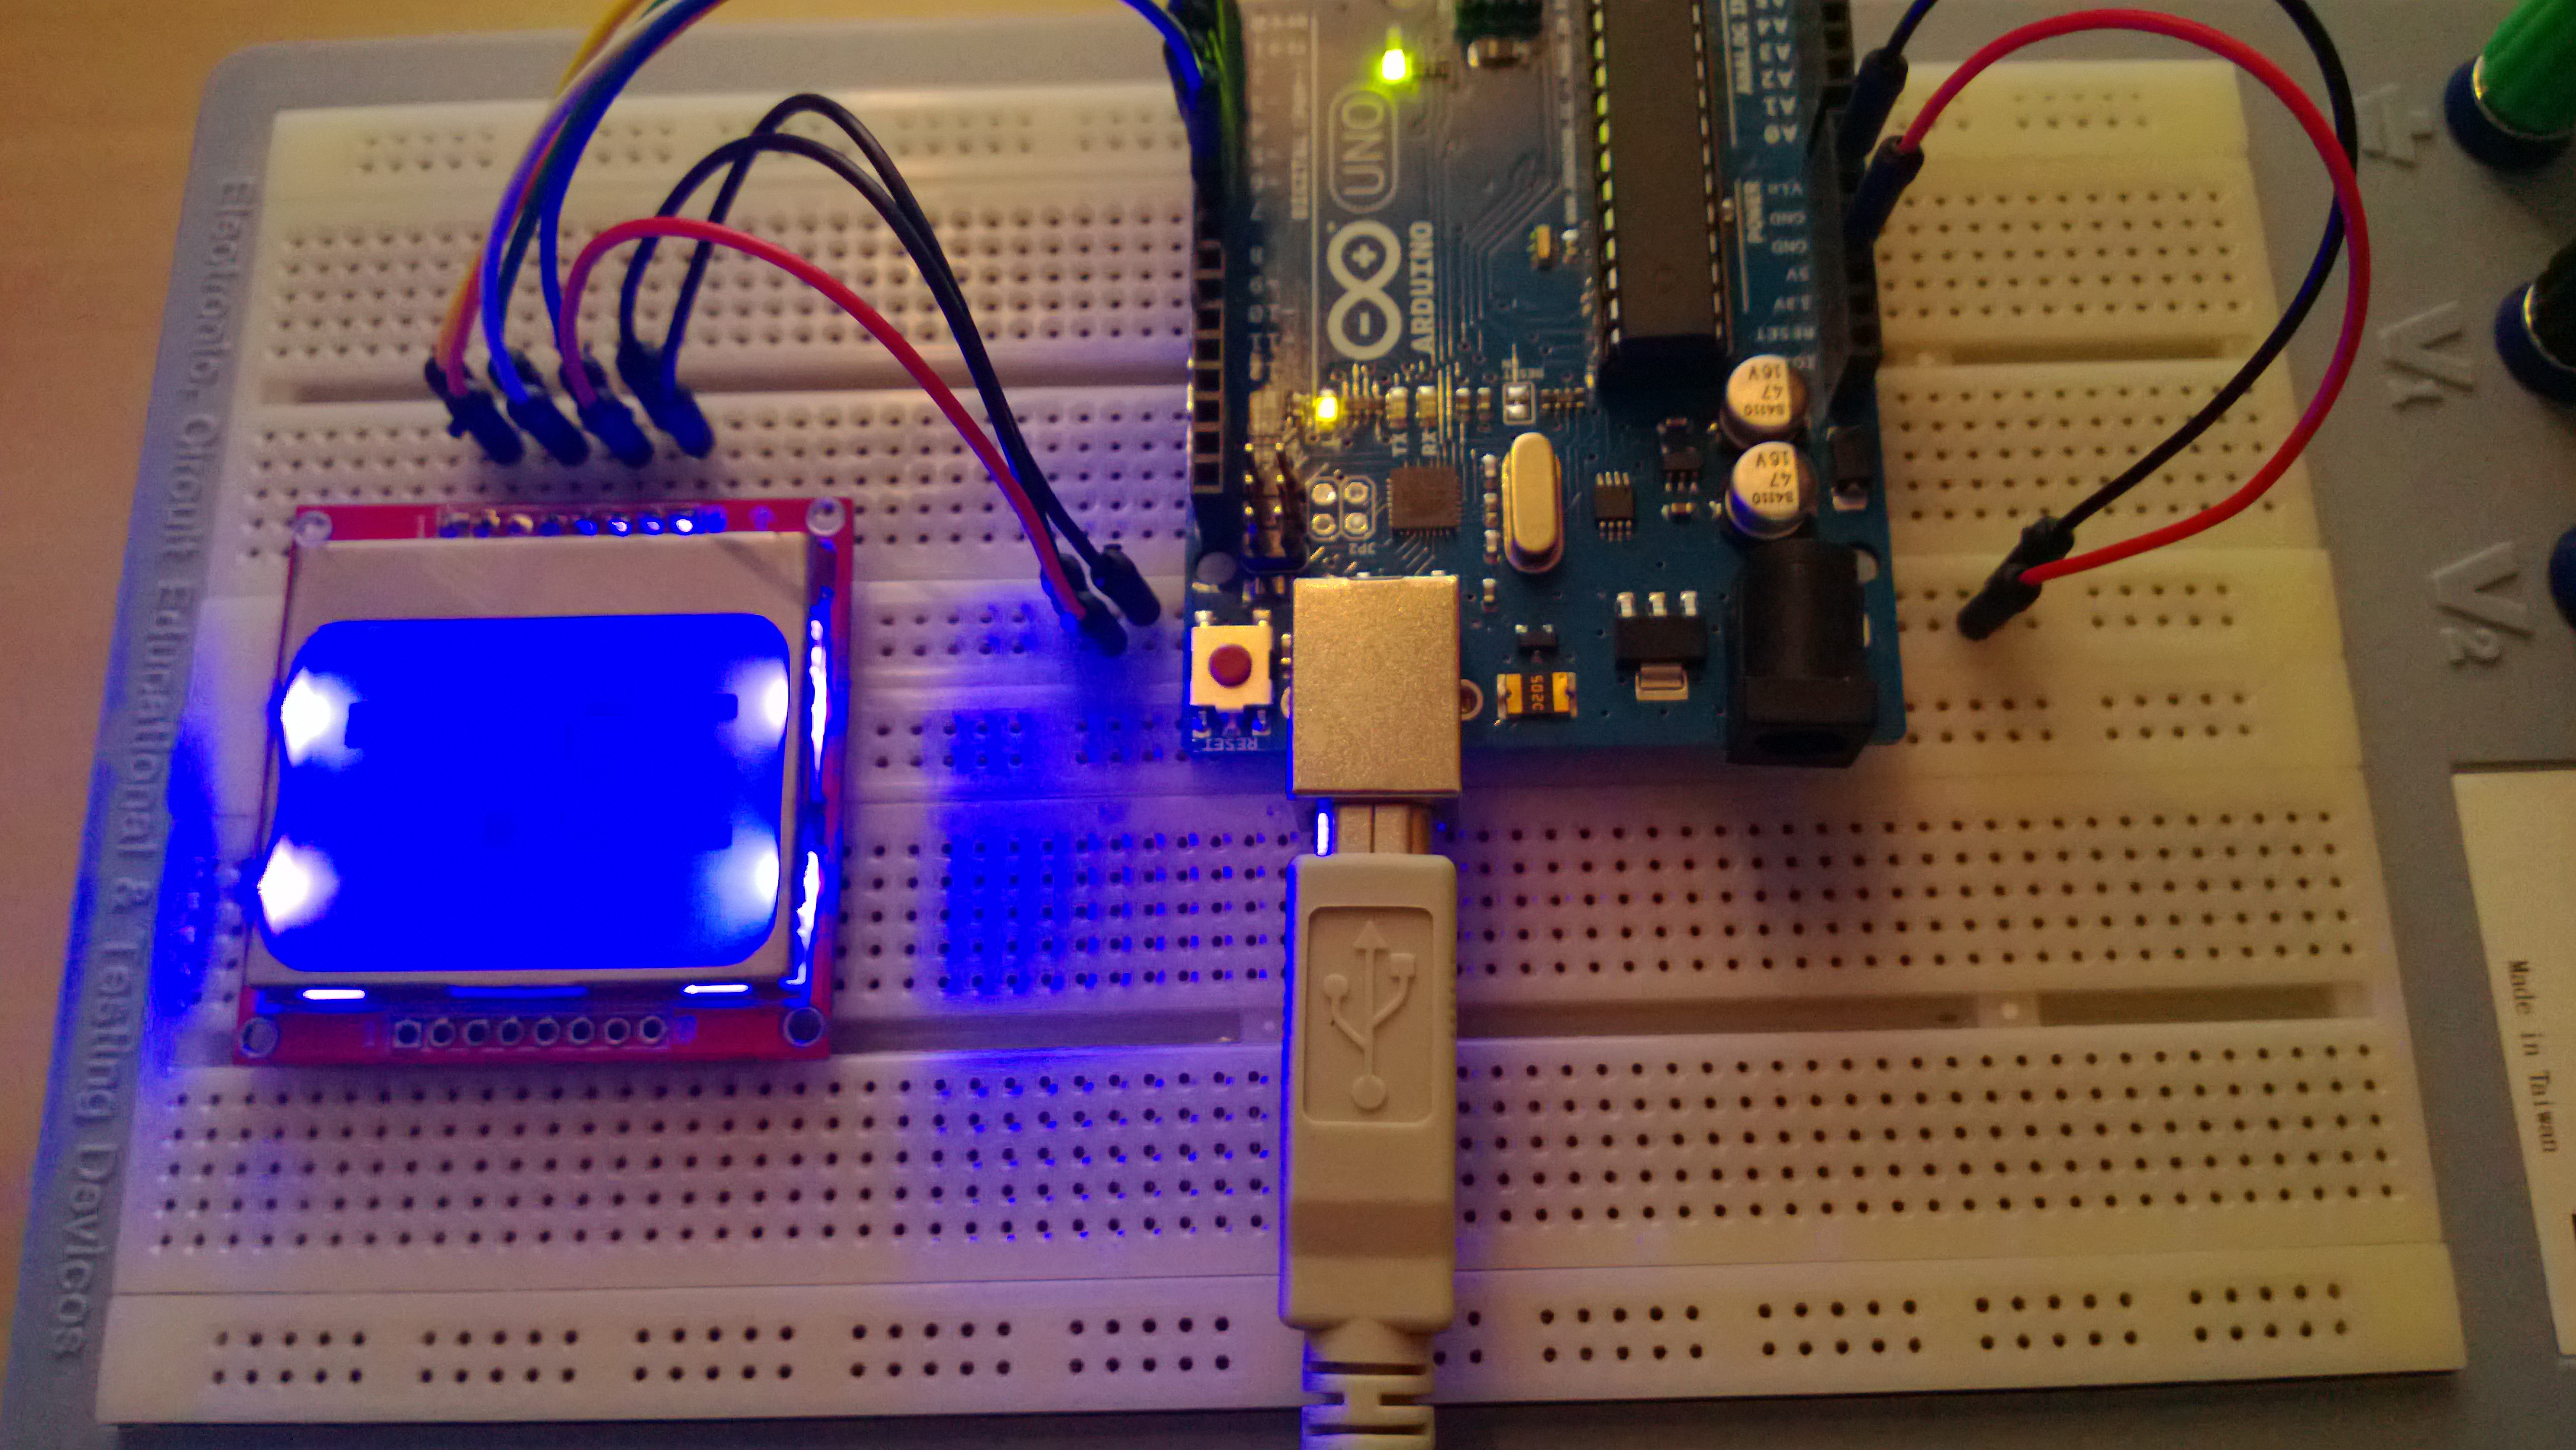
It’s been way too long since I posted something here. Mostly due to a hefty workload and whatever spare time I’ve had has effectively been eaten by other projects. Today finally I got to sit down playing with the Arduino and a Nokia 5110 display I picked up from eBay.
[youtube=http://youtu.be/42lbwEvcPEk]
The libraries needed as well as a tutorial for interacting with the display can be found over at Adafruit. Note that if you don’t use Adafruits version of the display the pin-out might differ.
This is the code for the example above:
[sourcecode language=”C”]
#include <Adafruit_GFX.h>
#include <Adafruit_PCD8544.h>
// SCLK, DIN, D_C, CS, RST
Adafruit_PCD8544 display = Adafruit_PCD8544(7, 6, 5, 4, 3);
#define _W 30
#define _SIZE 4
#define _BASEX 85
#define _BASEY 5
#define _NUMOFCHARS 14
#define _SPEED 2
void setup(){
Serial.begin(9600);
display.begin();
display.clearDisplay();
display.setContrast(10);
display.display();
}
void loop(){
display.clearDisplay();
display.display();
delay(500);
for (int i = _BASEX; i > -width(_SIZE) * _NUMOFCHARS – width(_SIZE); i = i – _SPEED){
display.clearDisplay();
writeAt(i);
display.display();
delay(10);
}
}
void writeChar(int ch, int sz, int x, int y){
display.drawChar(x, y, ch, 1, 0, sz);
}
int width(int sz){
return sz * 6;
}
void writeAt(int pos){
int sz = _SIZE;
int y = _BASEY;
writeChar(‘A’, sz, 0 * width(sz) + pos, y);
writeChar(‘R’, sz, 1 * width(sz) + pos, y);
writeChar(‘K’, sz, 2 * width(sz) + pos, y);
writeChar(‘A’, sz, 3 * width(sz) + pos, y);
writeChar(‘D’, sz, 4 * width(sz) + pos, y);
writeChar(‘T’, sz, 5 * width(sz) + pos, y);
writeChar(‘O’, sz, 6 * width(sz) + pos, y);
writeChar(‘R’, sz, 7 * width(sz) + pos, y);
writeChar(‘G’, sz, 8 * width(sz) + pos, y);
writeChar(‘E’, sz, 9 * width(sz) + pos, y);
writeChar(‘T’, sz, 10 * width(sz) + pos, y);
writeChar(‘.’, sz, 11 * width(sz) + pos, y);
writeChar(‘S’, sz, 12 * width(sz) + pos, y);
writeChar(‘E’, sz, 13 * width(sz) + pos, y);
}
[/sourcecode]
The important thing is not to forget calling display.display() for sending the commands to the display.
Have fun!