
The first parts I ordered were the plastics. I found a very nice eBay seller; reprappt, who was kind enough as to answer all of my newbie questions even if those not relating to the parts he was selling.
The full list of plastic parts needed for the i3 can be found on the RepRap wiki. Still being a bit confused over the complete material list I compared the parts I received with the list on the wiki. Still confused but it’s falling into place as the build is progressing. I’m the instructions from reprapuniverse.com. Although my setup differs somewhat the instructions are easy to follow and adapt to my build.

Warping
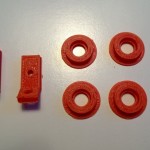
A few of the pieces have a slight warp and some need clean up of holes and edges but all in all I’m happy with them.
Warping is a common problem with certain thermoplastics. One of them being ABS which is commonly used with 3D printers. When the printing material cools it shrinks and if the material cools too quickly it leads to warping which in turn creates internal stress or tensions within the printed piece. The most common visible result of warping is corners lifting off the build surface.
In order to battle warping and thus creating better build quality a heated bed can be used for slowing down the cooling of the printed piece.
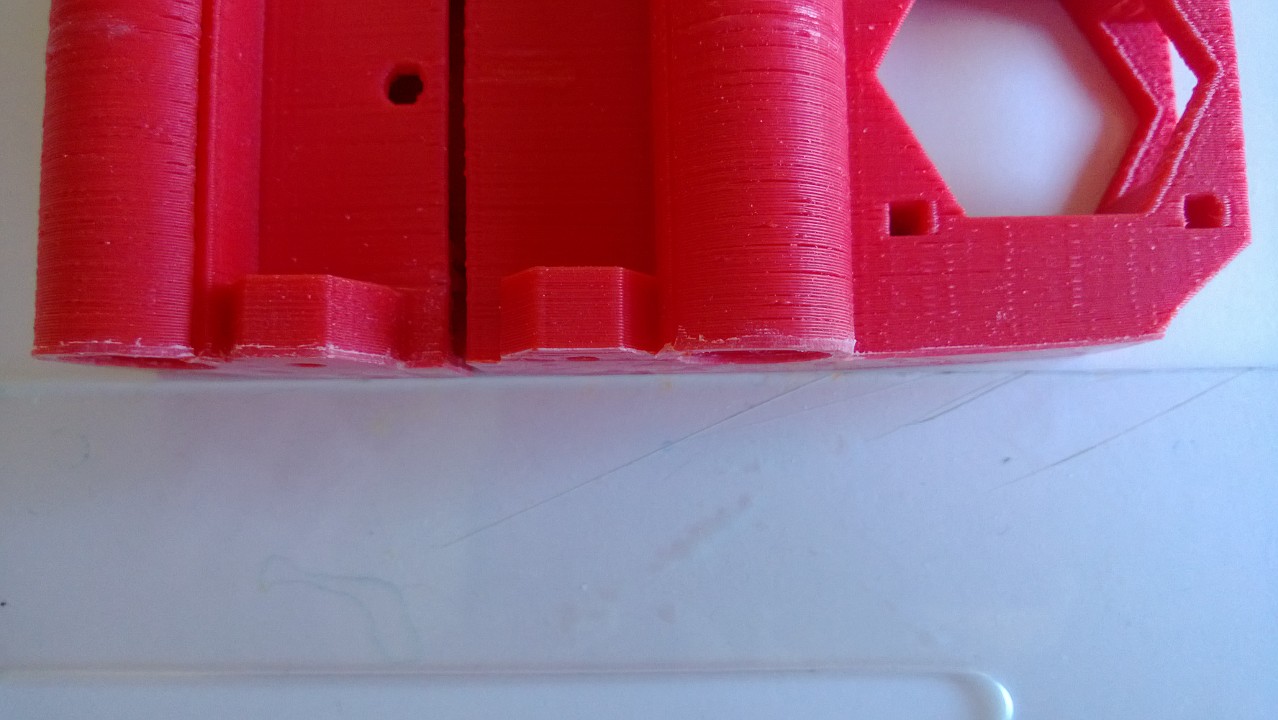
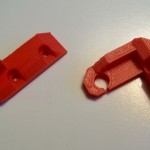
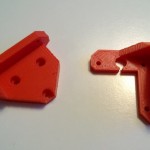
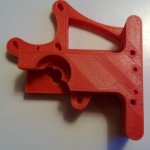
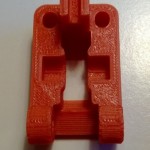
Warping can be not only ugly but also disastrous for precision parts. In my case it’s the X end idler and motor mount. The warp is obvious but the parts will work fine until I can print out replacements.
Cleaning up
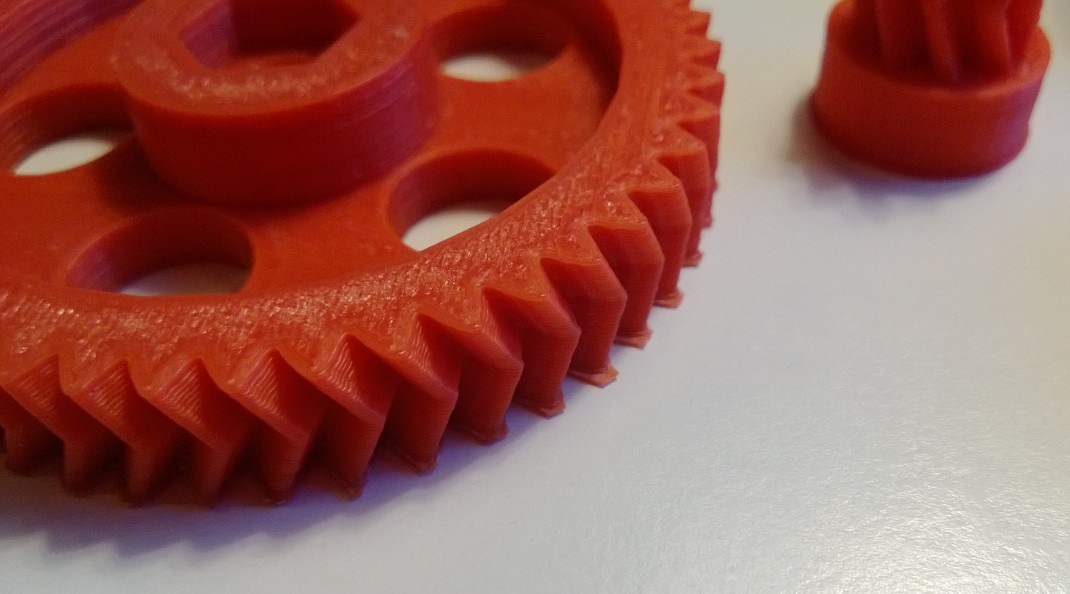
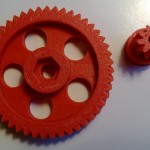
Most of the parts need clean up. Usually the printing material closest to the heat bed tends to bleed some. Use a fine file or sandpaper and be careful, especially with parts like the extruder gears.
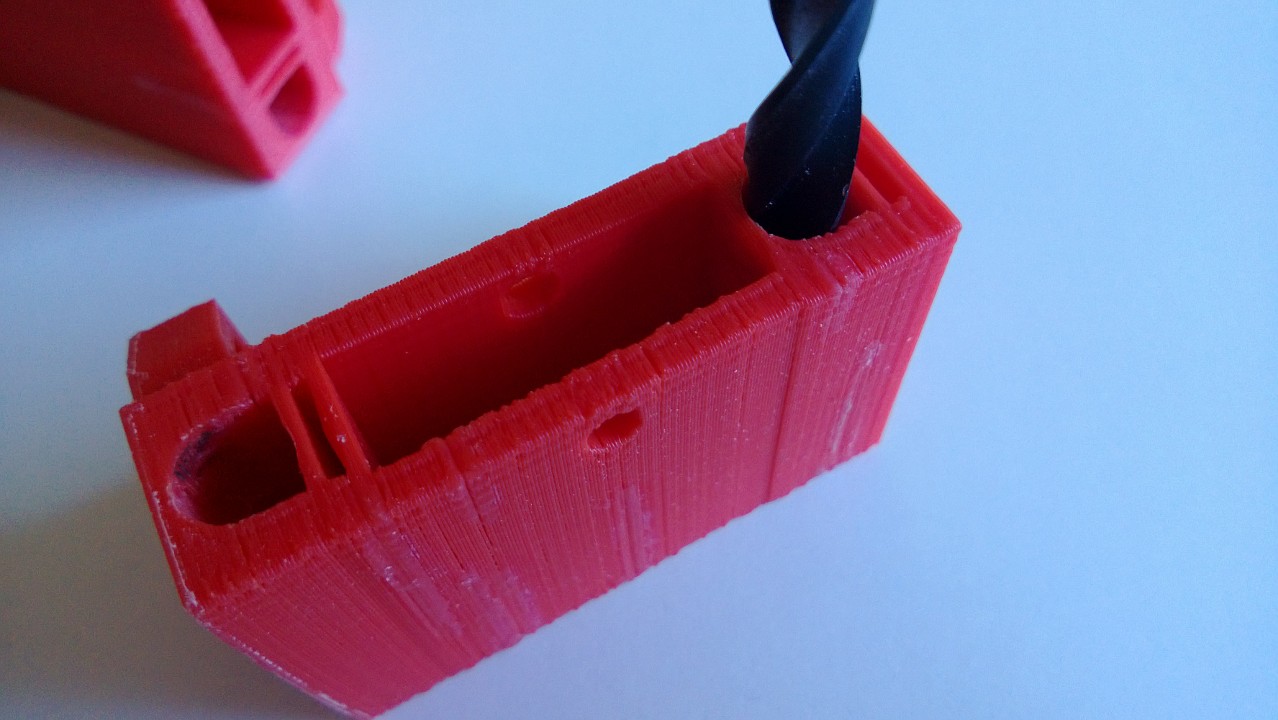
Also some of the holes will most likely need to be widened. Depending on the size and amount of widening needed either use a round file or a drill. Be extra careful if using a drill. The parts can easily crack if the drill bit gets stuck or angled.
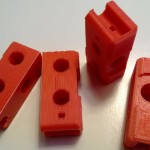
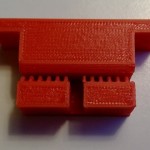
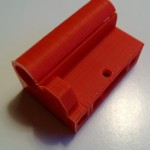
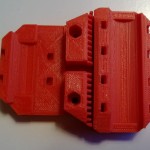
My parts
These are all the plastic parts I have for my build.


This is the second post in the Mendel Prusa i3 printer build log. You can find all posts in the series here.